
Last updated October 30, 2026
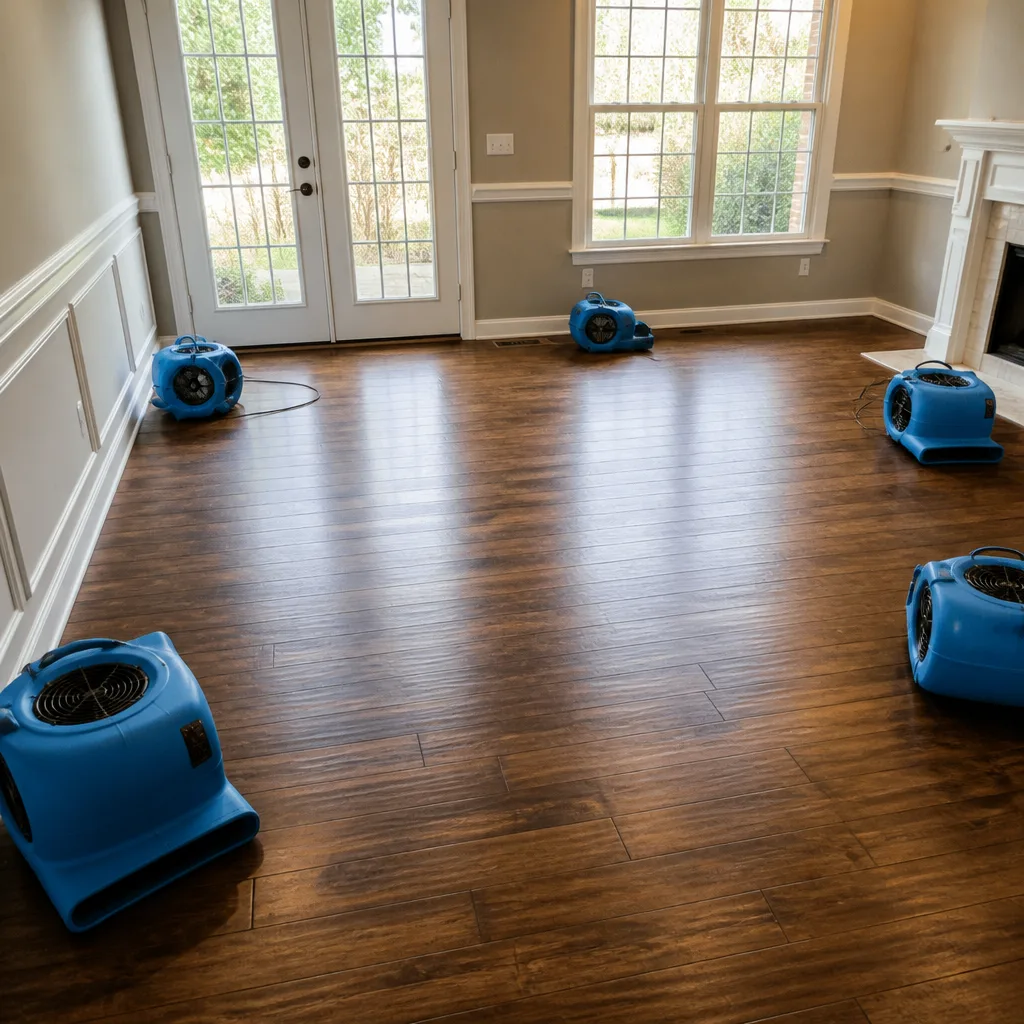 Water damage drying
 Fire & smoke cleanup
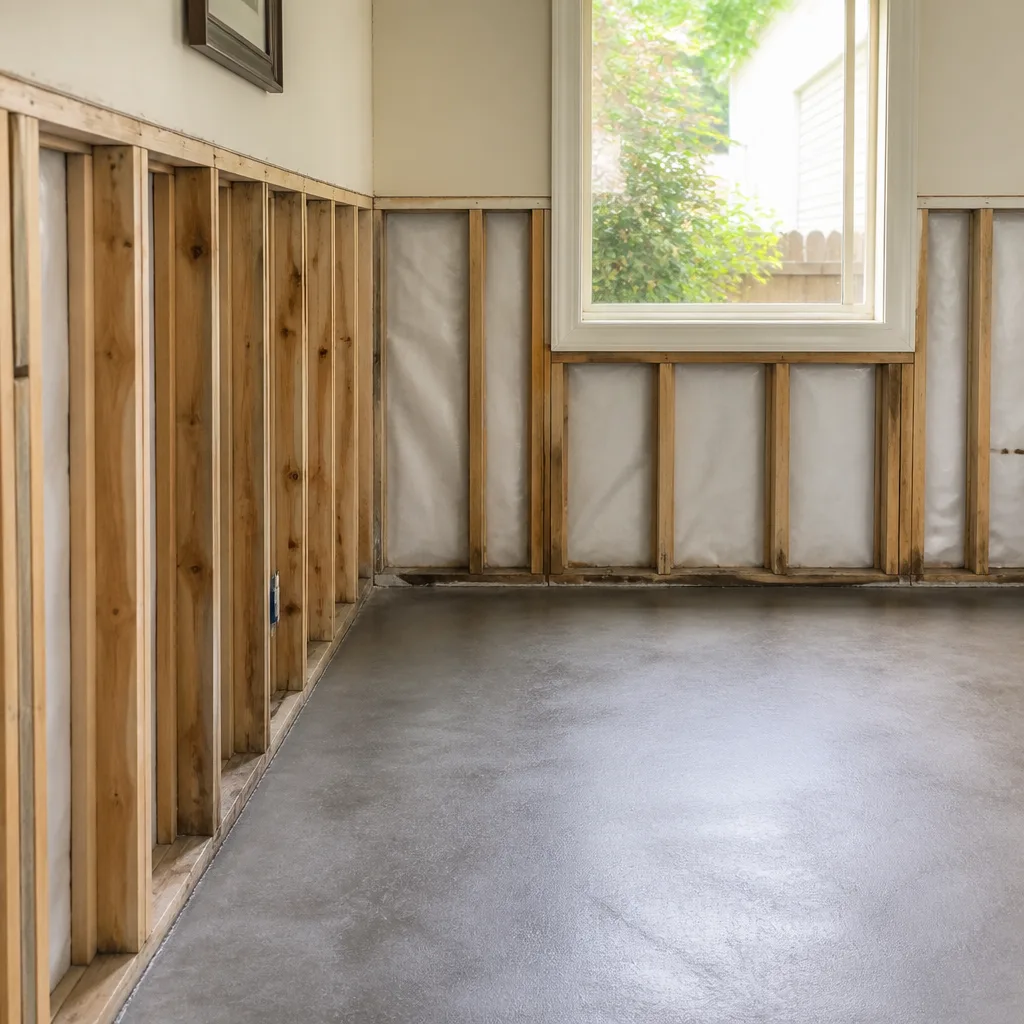 Mold remediation
 Storm response
 Sewage cleanup
 Reconstruction
Free visual inspection and a written scope of work before any mitigation begins - photos, moisture readings, and drying logs go in your claim file
The scope we write is the scope we bill. Anything new gets shown to you, in writing, before we touch it.
Get your free estimateWater Damage Restoration Troubleshooting: Common Problems and How to Fix Them
If you’re smelling something musty six weeks after a restoration company signed off your job as complete, the mold isn’t new. It was growing the entire time inside a wall cavity that never reached its S500 drying goal. We’ve worked enough restoration jobs in Sunrise Manor to know that most “unexplained” post-restoration problems follow the same pattern: a technician measured surface moisture, declared the structure dry, and packed up before the materials underneath had actually stabilized. This guide teaches you to read the clues your house leaves behind, the same way a certified restoration technician does, so you can identify exactly where the original job fell short and what it takes to fix it properly. For The Complete Guide to Damage Restoration in Sunrise Manor, see our full resource.
Quick Answer
Most water damage restoration problems that surface weeks or months after a job comes down to one of three missed steps: incomplete structural drying (walls, subfloors, or cavities that never reached IICRC S500 drying goals), inadequate antimicrobial treatment after Category 2 or 3 water contact, or unresolved humidity in enclosed spaces. Each produces a distinct set of symptoms, from returning odor to recurring stains to warped flooring. Fixing them starts with identifying which step was skipped, and then treating the actual problem rather than repainting or masking the symptom.
Restoration work we handle
Table of Contents
- Why Odor Returns After Restoration
- Reading a Moisture Meter: What “Dry” Actually Means
- Stains on Ceilings: Efflorescence vs. Tannin vs. Active Wicking
- Warped Flooring: Three Causes, Three Different Fixes
- Soft Drywall and Bubbling Paint: Diagnosing What’s Behind It
- When to Request a Re-inspection Report for Your Insurance Claim
- Common Mistakes to Avoid
- When to Call a Professional
- Frequently Asked Questions
Why Odor Returns After Restoration
A musty odor that returns after water damage restoration is almost never a new problem. It’s the original problem announcing it never got solved. In our experience across Sunrise Manor, where summer heat drives moisture deeper into building materials and fall temperature swings create condensation cycles, returning odor falls into one of three categories: residual Category 2 or 3 water, incomplete antimicrobial treatment, or trapped humidity inside enclosed cavities.
Residual Category 2 or 3 water means gray or black water, the kind that carries bacteria or sewage, wasn’t fully extracted. The visible surface dried, but contaminated moisture stayed behind in subfloor layers, behind baseboards, or inside sill plates. That bacteria multiplies in the dark and the smell comes back. The fix isn’t more deodorizer. The affected material needs to be opened, treated with an appropriate antimicrobial, and dried under containment. If the original job didn’t include antimicrobial application after extraction, this is the most likely culprit.
Incomplete antimicrobial treatment happens when cleaning stopped at the surface. A technician wipes down the drywall, maybe sprays a fog, but never reaches the organic material that absorbed contaminated water. Drywall wicks water upward; the bottom twelve inches can hold enough moisture to feed bacterial and fungal growth for weeks. We treat this by removing or drilling the affected area and applying antimicrobial agents directly to the contaminated core, not just the face.
Trapped humidity is the third cause, and it’s common in Sunrise Manor homes with stucco exteriors and limited wall ventilation. If a restoration crew dried the room but never verified the relative humidity inside the wall cavity, moisture keeps cycling. You’ll notice the odor gets stronger on humid days or when the air conditioning cycles off. The fix is a diagnostic humidity reading inside the cavity. If it’s still above the IICRC standard of roughly 15% moisture content for wood or 60% relative humidity for air, the structure didn’t finish drying. It needs targeted equipment, not another coat of paint.
Distinguishing between the three comes down to measurement. A trained inspector tests moisture content at the source, measures cavity humidity, and checks for elevated spore counts in the air. The odor type also helps: sewage smells point to Category 3 water, earthy or fungal smells point to microbial activity, and a stale, closed-up smell points to humidity. Our Water Damage Restoration in Sunrise Manor service starts with exactly this kind of diagnostic step before we ever talk about repairs.
Reading a Moisture Meter: What “Dry” Actually Means
Most homeowners don’t own a moisture meter, and that’s exactly why restoration companies can declare a job done when it isn’t. A simple pin-type or pinless moisture meter costs between $40 and $400, but knowing how to read one properly means understanding what the numbers represent. The IICRC S500 Standard and Reference Guide for Professional Water Damage Restoration sets target moisture levels based on material type and the severity of the water loss. Restoration technicians categorize water damage into four classes.
Class 1 is the least severe: only a small area of a room is wet, and materials have absorbed minimal water. Class 2 involves an entire room with carpet, cushion, or low-absorption walls wet. Class 3 means water came from overhead, saturating ceilings, walls, insulation, and flooring. Class 4 is deep saturation of hard-to-dry materials like hardwood, plaster, or concrete with a high moisture load. Each class requires a different drying strategy, and each has a different target for “dry.”
For most residential materials in a Class 2 or Class 3 job, which is what we see most often in Sunrise Manor homes after washing machine leaks, water heater failures, or HVAC condensate overflows, wood framing should measure between 6% and 15% moisture content on a moisture meter calibrated for Douglas fir or equivalent. Drywall should read below 1% on a non-invasive moisture sensor or produce a moisture content reading within 2-3 percentage points of a known dry reference sample taken from an unaffected area of the same room. Tile over wood subfloor needs the wood beneath measured, not the tile surface.
Here’s what to do if you suspect a wall wasn’t fully dried:
- Take a reference reading. Find a part of the same room or an adjacent room that was never wet. Note the moisture meter reading. This is your baseline.
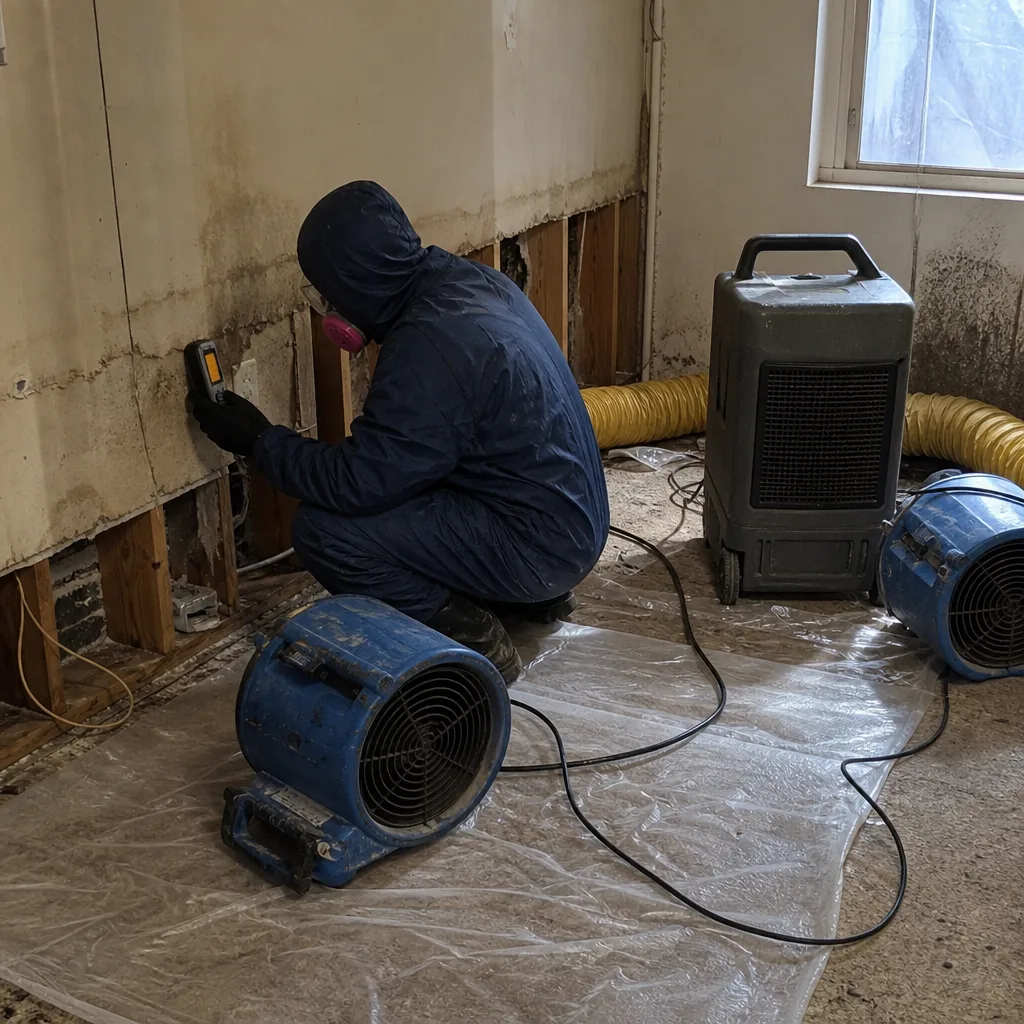
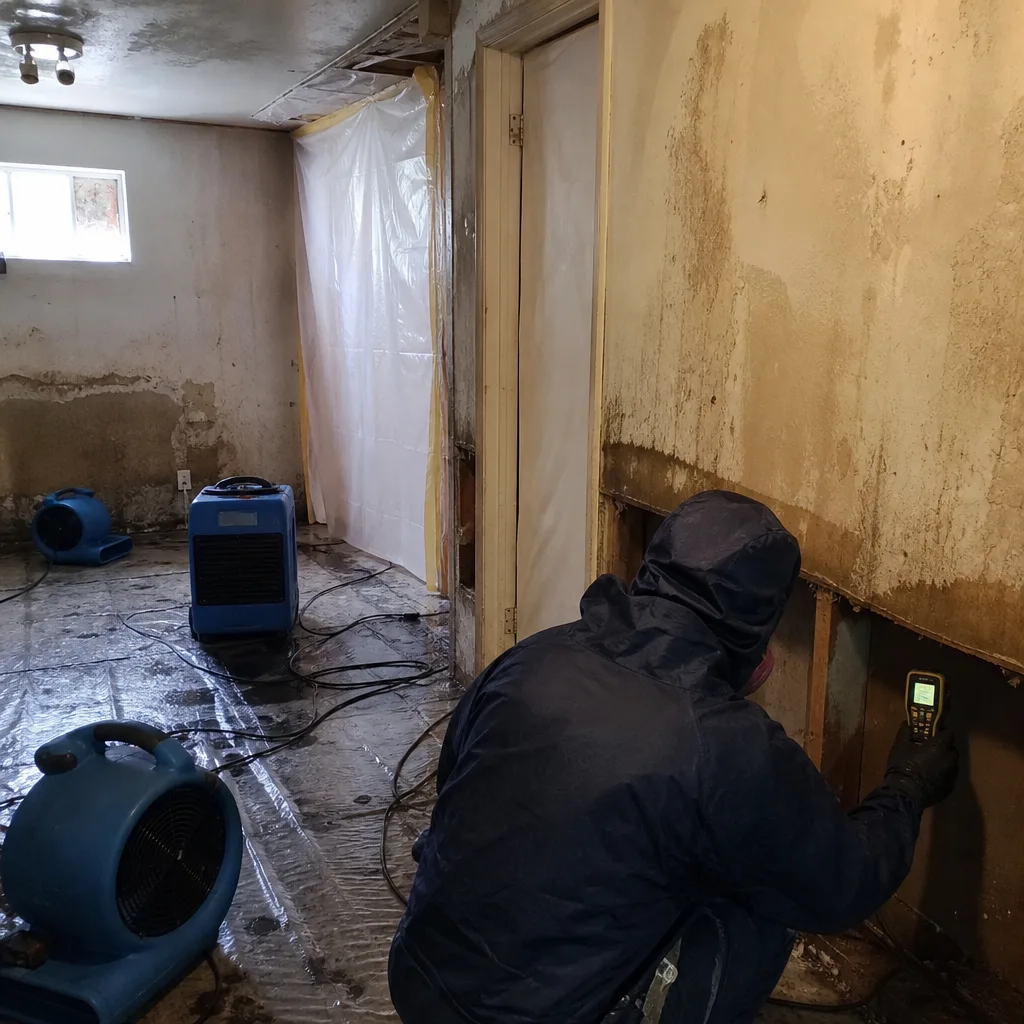
- Test the suspect area. Press the meter against the wall, baseboard, or flooring at multiple points: bottom plate, mid-wall, ceiling line if the leak came from above.
- Compare. If the suspect area reads more than 3-4 percentage points above baseline, the material is still drying or reabsorbing moisture.
- Check inside the cavity. If the wall surface reads dry but you still smell something, the moisture may be inside. You can drill a small inspection hole at the baseboard level and insert a probe meter, or hire a restoration firm that can check without damaging the wall.
We use professional meters from Dri-Eaz and also deploy drying systems from Phoenix and B-Air when a re-dry is needed. The equipment matters. Consumer-grade fans circulate air, but professional air movers and dehumidifiers create the pressure differentials and low-humidity environment required to pull moisture out of structural cavities. A box fan from the garage will not dry a wall cavity behind stucco in a Sunrise Manor summer. It will just make the room feel less wet while the structure stays damp.
One detail competitors miss: the drying goal for a Class 4 job, which often applies to hardwood floors or plaster walls, is not the same as a Class 2 job. A meter reading that would pass a carpet-and-drywall room is still too wet for a plaster wall or a hardwood floor. If your home has plaster, original hardwood, or masonry, confirm the restoration company measured against the correct drying standard. If they can’t answer which Class your job was, that’s a warning sign.
Stains on Ceilings: Efflorescence vs. Tannin vs. Active Wicking
A ceiling stain that reappears after painting is one of the most common post-restoration complaints we hear from homeowners in Sunrise Manor, and the fix depends entirely on what kind of stain it is. Three things look similar to a homeowner but point to completely different problems. Learning to tell them apart saves you from repainting a ceiling three times while the real issue persists above.
Efflorescence is a white, chalky, crystalline residue that forms when water migrates through concrete, plaster, or masonry and deposits mineral salts on the surface as it evaporates. On a ceiling, especially in a Sunrise Manor home with a concrete slab above or masonry construction, efflorescence means water is still moving through the material. The mineral deposit is just the trail. If you scrape it off and it comes back, or if it reappears a few months after restoration and repainting, water is still present in the material above. Painting over efflorescence without addressing the water source means the paint will eventually bubble or flake, and the cycle repeats.
Tannin bleeding looks different: it’s brown, tea-colored, or amber discoloration that bleeds through paint from wood behind it. Tannin stains are common on ceilings below roof leaks or where wood sheathing got wet. After a restoration job, tannin can keep leaching through new paint for weeks, even after the wood is dry. The difference between tannin bleeding and active moisture is straightforward: tannin stains are static and don’t change size or shape. They’re a cosmetic issue. A stain that’s growing, changing shape, or feels damp to the touch is active moisture wicking, not tannin.
Active moisture wicking is the most serious of the three. It means water is continuously entering the material and being drawn to the surface, like a paper towel placed with its edge in a puddle of water. The stain darkens, spreads, or feels cool and damp. In a ceiling, active wicking means the source wasn’t fixed, or residual water from the original loss is still trapped in insulation or framing above. This requires opening the ceiling and inspecting what’s behind it. If the original restoration company only dried the living space and never inspected the cavity above the ceiling, active wicking is a likely explanation for the stain’s return.
Here’s how to check a ceiling stain yourself:
- Run the back of your hand lightly over the stain. Cool and damp means active moisture. Warm and dry means the stain is likely residual tannin or efflorescence.
- Mark the stain’s border with a pencil. Check it in 24 hours. If the mark has been overtaken, moisture is actively moving.
- Look for a white powdery crust that scrapes off easily. That’s efflorescence. You may also see it on nearby brick or concrete surfaces.
- If you’re still uncertain, a restoration technician with a moisture meter can determine within minutes whether the material behind that stain is wet.
One thing to note about Sunrise Manor specifically: our spring and fall temperature swings often create brief condensation inside unconditioned attic spaces and wall cavities. A ceiling stain can appear without any active leak, caused entirely by humidity condensation on cool surfaces. If the stain appears seasonally, check the attic ventilation and insulation before assuming a recurrent leak.
Warped Flooring: Three Causes, Three Different Fixes
Cupped, buckled, or warped flooring after water damage restoration points to one of three underlying conditions: subfloor saturation that was never resolved, acclimation failure, or adhesive breakdown. The fix is different for each, and applying the wrong one can double your repair cost.
Subfloor saturation is the most common in Sunrise Manor homes with slab foundations. If water pooled on a concrete slab, the slab itself absorbed moisture. The restoration company extracted the surface water, maybe even pulled the carpet and set up fans, but the slab kept releasing moisture into the flooring above for weeks afterward. Wood flooring cups because the underside of the boards absorbs more moisture than the top surface, making the boards curl upward at the edges. The cure isn’t sanding or re-installing the same flooring; it’s drying the slab. That requires either waiting, which can take months, or using a drying system designed to pull moisture from concrete. We use professional-grade dehumidification and, where appropriate, targeted drying mats from Injectidry that move air across and through materials to speed the process.
Acclimation failure happens during replacement flooring installation, not during the original restoration. If replacement hardwood or laminate was installed too soon after drying, before the wood had time to stabilize to the home’s normal humidity level, the boards expand or contract after installation. That causes warping, gaps, or buckling that has nothing to do with residual water from the original loss. A moisture meter placed on the subfloor and on the new flooring can identify this. The fix requires removing and re-acclimating the flooring, or in some cases, replacing it entirely. A proper restoration company documents the moisture readings before new flooring goes down precisely to avoid this problem.
Adhesive breakdown is the third cause, and it’s specific to engineered wood, vinyl plank, or tile set over wood subfloors. If moisture from the original loss or from ongoing humidity penetrated beneath the flooring, it can dissolve or weaken the adhesive. The flooring starts to shift, lift, or develop hollow-sounding spots. Tapping on the floor with a screwdriver handle can reveal hollow areas where the adhesive has failed. The cure is removing the affected flooring, treating the subfloor for moisture, and re-installing with the correct adhesive for the home’s humidity conditions.
Here’s how to narrow down which one you’re dealing with:
- Cupping hardwood with a rising, damp smell: subfloor saturation. Check the slab or wood subfloor with a meter.
- Gaps or buckling in brand-new flooring installed within the last few months: acclimation failure. Check for moisture and compare with the home’s long-term humidity.
- Hollow-sounding spots or planks that slide: adhesive breakdown. Look for the flooring lifting at edges or movement underfoot.
One additional note for Sunrise Manor residents: our relatively low indoor humidity most of the year combined with occasional monsoon-season humidity spikes creates conditions where wood flooring moves seasonally. If warping appears only during July and August and settles later, the flooring may be legitimately stable, just expansive. But if warping appears after an actual water event, don’t write it off as seasonal movement.
Soft Drywall and Bubbling Paint: Diagnosing What’s Behind It
Soft drywall is one of the clearest indicators that a restoration job didn’t finish the job. When drywall absorbs water, the gypsum core loses structural integrity. It becomes spongy, crumbles when pressed, or sags under its own weight. But “soft” can also be caused by something else: trapped humidity behind a vapor barrier, or a slow leak that was never addressed.
Bubbling paint on drywall often means moisture is still releasing from the wall beneath the paint film. The paint bubbles because vapor pressure builds between the paint and the damp drywall surface. If the bubbles are small and evenly distributed, it may be residual moisture from a fully dried wall, which is cosmetic. If the bubbles are large, weep water when punctured, or keep growing, the wall behind them is still releasing moisture. That’s structural.
To test a wall section, press it with your thumb. Dry drywall feels firm and solid. Wet or compromised drywall has give, feels gritty, or sounds dull when tapped. Compare it to a wall in an unaffected room. If there’s a clear difference, the wall material likely needs removal and replacement, not just drying. The IICRC standard is clear: drywall that has been saturated and shows signs of degradation loses its structural rating. Saving it is a gamble that usually costs more later.
A specific problem we encounter in Sunrise Manor involves walls adjacent to bathrooms and laundry rooms. A restoration crew dries the room where water was visible, but the shared wall between the bathroom and the bedroom, or the wall behind a washing machine supply line, never gets checked. Water travels along studs and plates, and the damage shows up in the drywall a month later. If you’re seeing soft drywall or bubbling paint on a wall adjacent to the original loss, have that wall checked for moisture even if it was never wet to the touch.
The same applies to baseboards. Baseboards hide the bottom inch of drywall, which is the most vulnerable. If a restoration company dried a room but never pulled the baseboards to inspect behind them, trapped moisture in that lower section can keep feeding problems for months. We routinely recommend removing and, if damaged, replacing baseboards as part of any thorough drying job. It’s more work up front, but it prevents the exact situation we’re describing here.
When to Request a Re-inspection Report for Your Insurance Claim
If you’ve identified a post-restoration problem, you have rights under your original insurance claim. Most homeowners don’t realize that a failed restoration can often be addressed through an insurance supplement, which is an additional payment to cover work that wasn’t adequately completed the first time. But getting that supplement approved requires documentation, not just a phone call.
The line between “re-treatment” and a formal re-inspection is blurry, but in practical terms, here’s the decision tree: if the problem is localized and the restoration company is willing to return and fix it at no additional charge, you may not need a formal report. But if the restoration company disputes your claim, if the problem is extensive, or if your insurance company is involved again, a formal re-inspection report is worth the cost.
How to Document for a Supplement Claim
- Take photos and video. Document the stain, odor, warped flooring, or soft drywall with the date visible in the image metadata. Take wide shots and close-ups.
- Get a moisture reading. If you own a moisture meter, record the readings and the location. Photograph the meter display next to the wall or floor being tested.
- Request a written inspection. A certified restoration firm, such as a company certified to IICRC standards, can produce a written re-inspection report that states what was found, what the original drying goal should have been, and what remedial work is needed.
- Send the report to your adjuster. Reference the original claim number and state that you’re submitting a supplement request based on incomplete drying or inadequate remediation.
- Request a copy of the original drying log. Restoration companies should have documentation of their moisture readings, equipment placement, and daily monitoring. If those records don’t exist or don’t match the current conditions, that’s evidence in your favor.
In Sunrise Manor, the claims process can move slowly during busy storm seasons when adjusters are overloaded. Document everything promptly, keep copies, and don’t let a restoration company pressure you into signing a certificate of satisfaction until you’ve lived with the result for a week or two. We’ve seen too many cases where odor or stains returned days after a signature. Our Mold Remediation in Sunrise Manor service often starts exactly here: a homeowner who needs a second opinion on a previous job.
A phrase that carries weight in an insurance conversation is “IICRC S500 standard.” When you can say, “My re-inspection found the structure did not meet S500 drying goals,” the conversation shifts from opinion to a recognized industry standard. That’s what the S500 exists for: a clear, published benchmark for what constitutes dry. If the original restoration company can’t produce documentation showing they met that standard, the supplement claim has legs.
Common Mistakes to Avoid
- Repainting over a ceiling stain without checking for moisture. Sealant primers block tannin, but they do nothing to stop active wicking. The stain comes back and you’ve lost weeks.
- Using box fans and household dehumidifiers to “finish” drying. A consumer dehumidifier in a closed room reduces surface humidity but doesn’t create the air movement or low-vapor-pressure environment required to dry wall cavities or subfloors. Professional drying systems like those from Phoenix or B-Air make a measurable difference.
- Signing a certificate of satisfaction before verifying the work. If you sign, you may waive the ability to request a supplement under the original claim. Wait until you’re confident the job is done right.
- Assuming a musty smell will fade on its own. It won’t. Odor is a biological signal, not a lingering fragrance. It means microbial activity is ongoing, and that activity may be feeding on contaminated material inside the structure.
- Pulling up flooring to “check” without a plan. Opening a floor releases moisture and spores into the air. If you’re not equipped to contain and control that release, leave it to a professional.
- Ignoring the drying class designation. A restoration company that can’t tell you whether your job was Class 1, 2, 3, or 4 may not have classified it at all. Classification determines the drying strategy.
- Using a dehumidifier but no air movers. A dehumidifier alone cannot dry structural cavities. Air movement across wet surfaces is what transfers moisture into the air for the dehumidifier to remove.
When to Call a Professional
Call a certified restoration professional when you see any of these signs: a moisture meter reading more than 3-4 percentage points above baseline in a previously wet area, a stain that grows or remains damp, a musty odor that persists more than a week after drying equipment was removed, soft or sagging drywall, flooring that cups or buckles, or any evidence of sewage or gray water contact that wasn’t treated with antimicrobials. These are not DIY fixes. The work requires containment, professional drying equipment, and often the removal of contaminated materials. Drying wood framing or concrete slabs to S500 standards takes commercial-grade equipment, and treating Category 2 or 3 water exposure requires antimicrobial agents and proper protective equipment.
Ashworth Water Damage offers free estimates in Sunrise Manor. Explore more guides & resources on our blog. Call (833) 734-7202 and we’ll send a certified technician to inspect the affected area, take moisture readings, and tell you honestly whether the previous work needs re-treatment or full re-drying.
Frequently Asked Questions
Use a moisture meter to compare the suspect wall against a known dry reference point in the same room. The suspect area should read within 2-3 percentage points of baseline. If it reads higher, or if you can feel coolness or give when you press the drywall, the wall is not fully dry.
Returning odor means either Category 2 or 3 water was not fully extracted or treated, antimicrobial application was incomplete, or humidity remains trapped inside a wall or floor cavity. The specific odor (sewage, earthy, or stale) and moisture readings at the source will identify which condition applies.
Yes, if the stain was painted over without resolving the moisture source. Efflorescence or active wicking will return. Tannin stains can also bleed through new paint for weeks, but those are cosmetic and won’t spread.
Costs vary widely depending on the size of the affected area, the materials involved, and whether demolition is needed. A simple re-dry of a small wall section may be a few hundred dollars in equipment time; a full re-dry of a subfloor or ceiling cavity runs higher. We recommend a free inspection and written estimate before any work begins. Call (833) 734-7202 for an exact quote.
In many cases, yes, through a supplement to the original claim. The key is documentation: moisture readings, photos, a written re-inspection report from a certified firm, and the original drying records. Submit all of it to your adjuster referencing the original claim number.
You can, but a household fan won’t dry structural cavities or subfloor materials. It moves surface air but doesn’t create the vapor pressure differential needed to pull moisture from inside walls or concrete. That requires professional air movers and dehumidifiers running together, often with drilling or mat systems like Injectidry to reach enclosed spaces.
Yes. We frequently inspect and re-treat work performed by other companies in Sunrise Manor. The process starts with a free inspection and moisture assessment, followed by a written plan for whatever corrective work is needed. If you need documentation for an insurance supplement, we provide that too.
No, but they’re closely connected. Water damage restoration is the drying and repair of building materials after a water event. Mold remediation is the removal and treatment of microbial growth that often follows water damage. Some jobs require both. Our Ashworth Water Damage home page explains the range of services we offer, and our Fire Damage Restoration in Sunrise Manor page covers another close cousin.
The Bottom Line
Most post-restoration problems are not mysterious. They are the predictable result of a skipped step: a wall cavity that never reached S500 drying goals, a subfloor that kept releasing moisture, an antimicrobial treatment that only touched surfaces, or a humidity pocket that was never measured. The symptoms tell you which step was skipped, as long as you know how to read them. A moisture meter, a careful look at stains, and basic documentation will identify the problem and give you what you need to request a correction, whether from the original contractor or through an insurance supplement. Don’t repaint, don’t mask, don’t wait. The structure is speaking. Now you can understand what it’s saying.
Written by the team at Ashworth Water Damage, serving Sunrise Manor since 2018.
See the difference
 Before
 After
 Before
 After
 Before
 After